Game Localization: Everything You Need to Know
Thanks to platforms like Steam and the App Store, developers today have unprecedented access to gamers around the world. Titles that start as an indie hit in one location can spread like wildfire through the global gaming community.
However, this rarely happens when a game is only available in one language.
Why? Because players want to understand what they are buying, and have the opportunity to follow in-game dialogue.
To make your game suitable for players in every region, it’s necessary to embrace game localization. In this guide, we will look at what game localization is, and how you can implement it within your own development workflow.
What Is Game Localization?
Every gamer knows the feeling of being excited about a new release. You have watched the trailer, read the reviews — all that’s left is actually playing the game.
Now imagine that you load your new purchase, only to discover that the entire game is in a language you don’t understand. You can’t even navigate the menus without help from Reddit. That would be pretty disappointing, right?
Game localization is the key to keeping your international players happy.
In simple terms, game localization is the process of optimizing your game for different parts of the world. That includes all in-game content, along with screenshots, sales pages, and keywords.
Translation is usually a key part of the process, but you may also need to make changes for culture and customs. Jokes that will induce belly laughs in one language might not have the same effect in another, so specialist knowledge is key.
Why Does Game Localization Matter?
Obviously, this requires some effort. However, the numbers show that localization is worth every dime.
In China, the gaming market was worth $43.6 billion in 2020 — and almost every title in the top 100 games was available in Chinese. In Poland, almost half the population enjoys gaming, but only around a third of people speak English. There are countless other examples like these around the world.
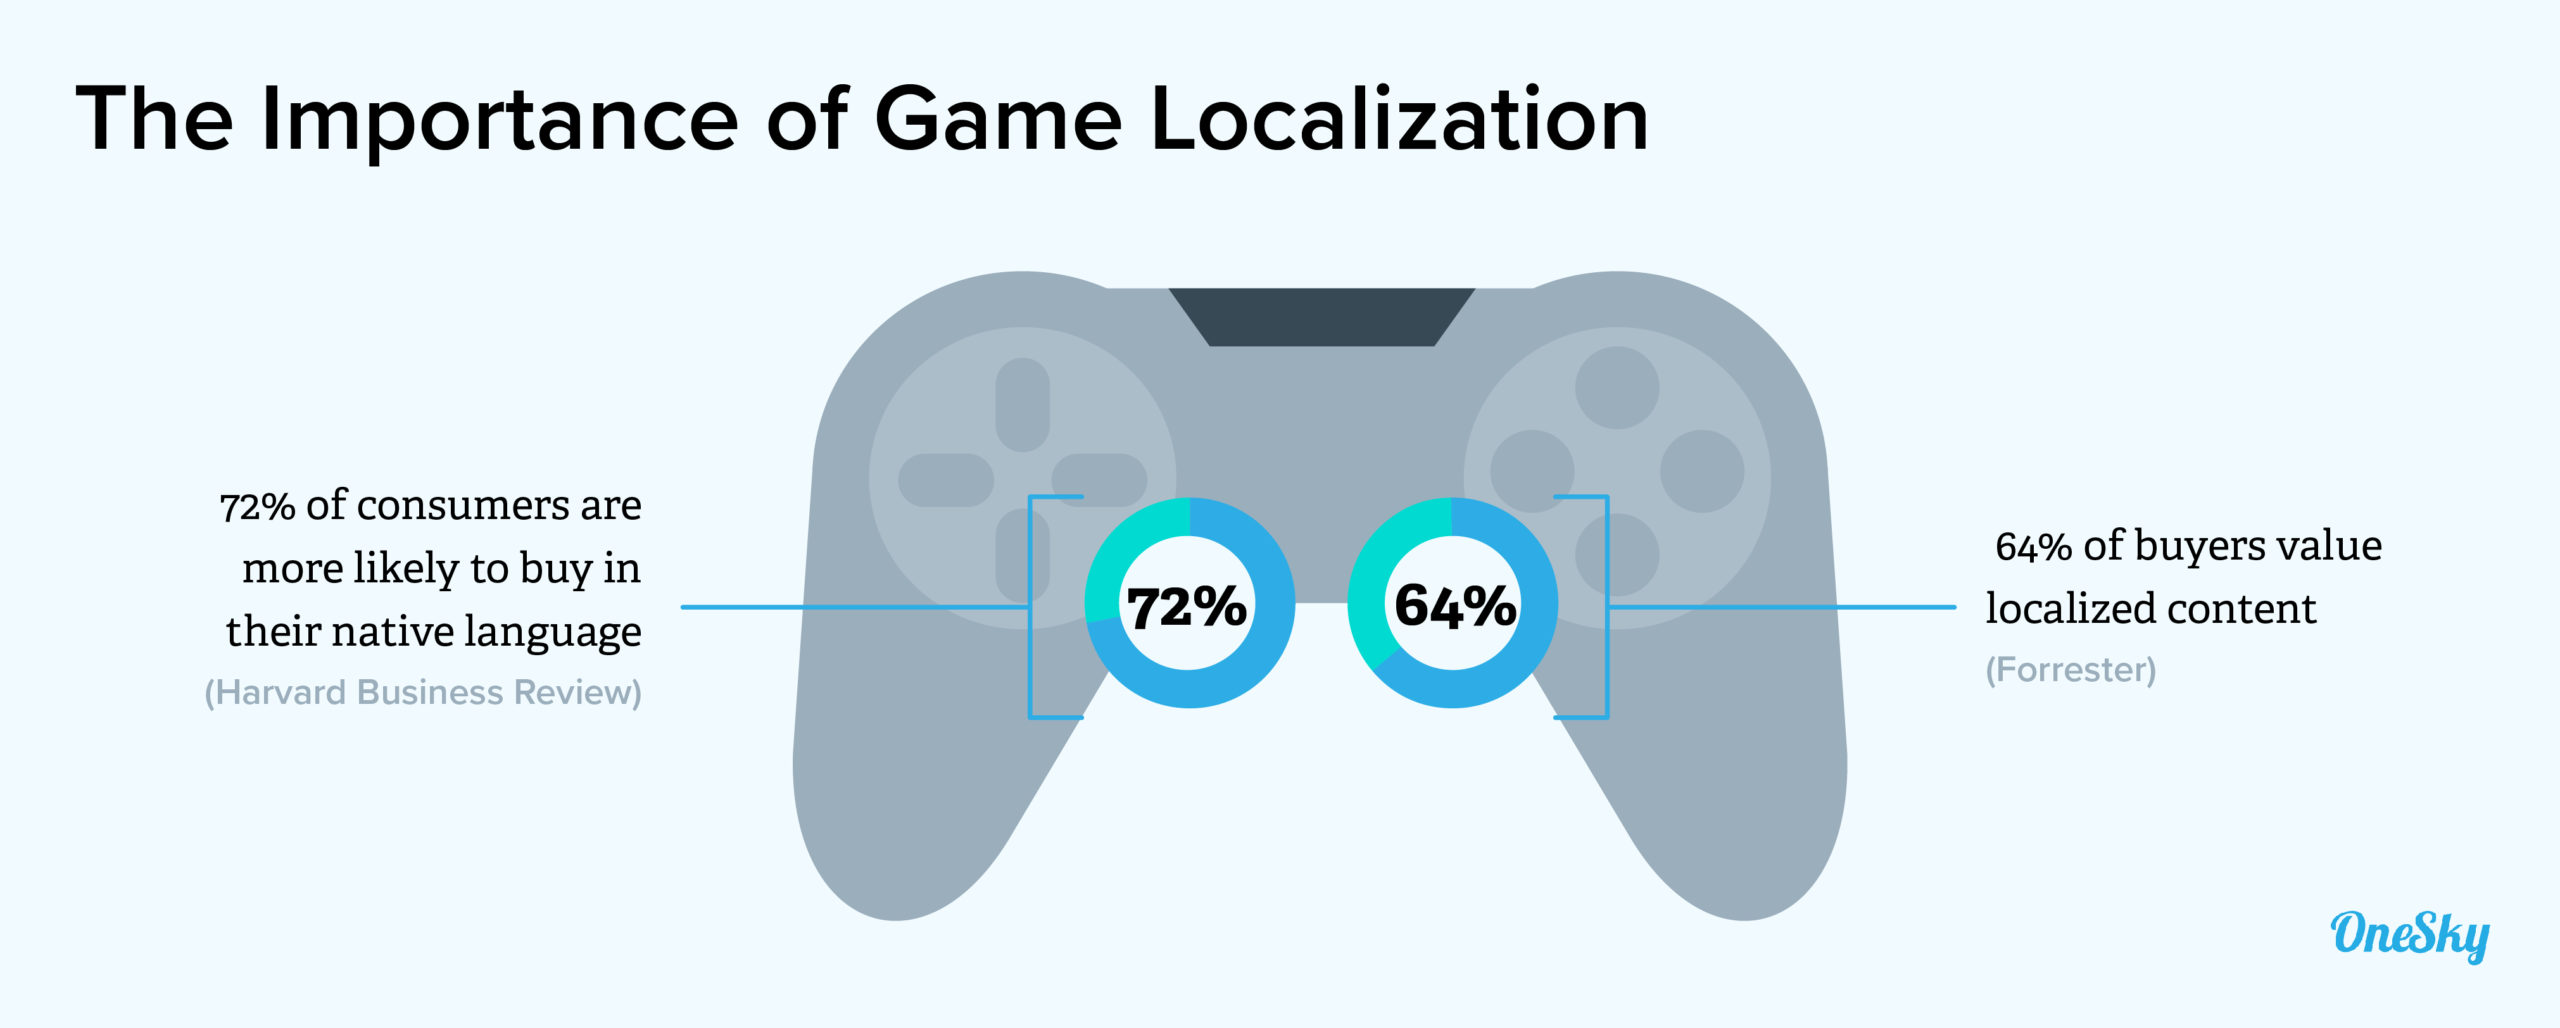
When it comes to making online purchases, the stats are even more strongly in favor of localization:
- 72% of consumers are more likely to buy in their native language (Harvard Business Review)
- 64% of buyers value localized content (Forrester)
You can read more about the importance of localization here.
Game Localization: The Complete Walkthrough
So, we have established why you should be thinking about game localization. Now let’s consider how to implement it.
The exact timeline may vary from project to project, but here is a rough roadmap for game localization:
- Create a Localization Strategy
- Pick Your Localization Solution
- Create a Localization Kit
- Extract Your Content
- Translation Time
- Import Your Localized Content
- Test, Test, Test
Every part of the process plays an important role in producing a polished result. Here is a closer look at each stage:
1) Create a Localization Strategy
When you embrace the idea of localization, it’s easy to start thinking immediately in terms of world domination (cue the supervillain laughter).
Of course, optimizing your game for a global audience is the ideal long-term goal. But in order to reach that point, you need to develop a strategy.
Your first step should be deciding on which locales to prioritize. (A locale is a language and location pair, such as Mexican Spanish or Australian English).
There are many factors that can influence this decision, from the genre of your game to the size of each market. Here are some of the most popular options with developers:
- German – Germany
- French – France
- Japanese – Japan
- Russian – Russia
- Korean – South Korea
- Spanish – Spain
- Portuguese – Brazil
Depending on your research, you may find some locales offer more growth potential than others.
In favorable markets, you should aim to localize both marketing content and your game. In areas where you predict less growth, it’s still worth localizing your online presence and app store keywords.
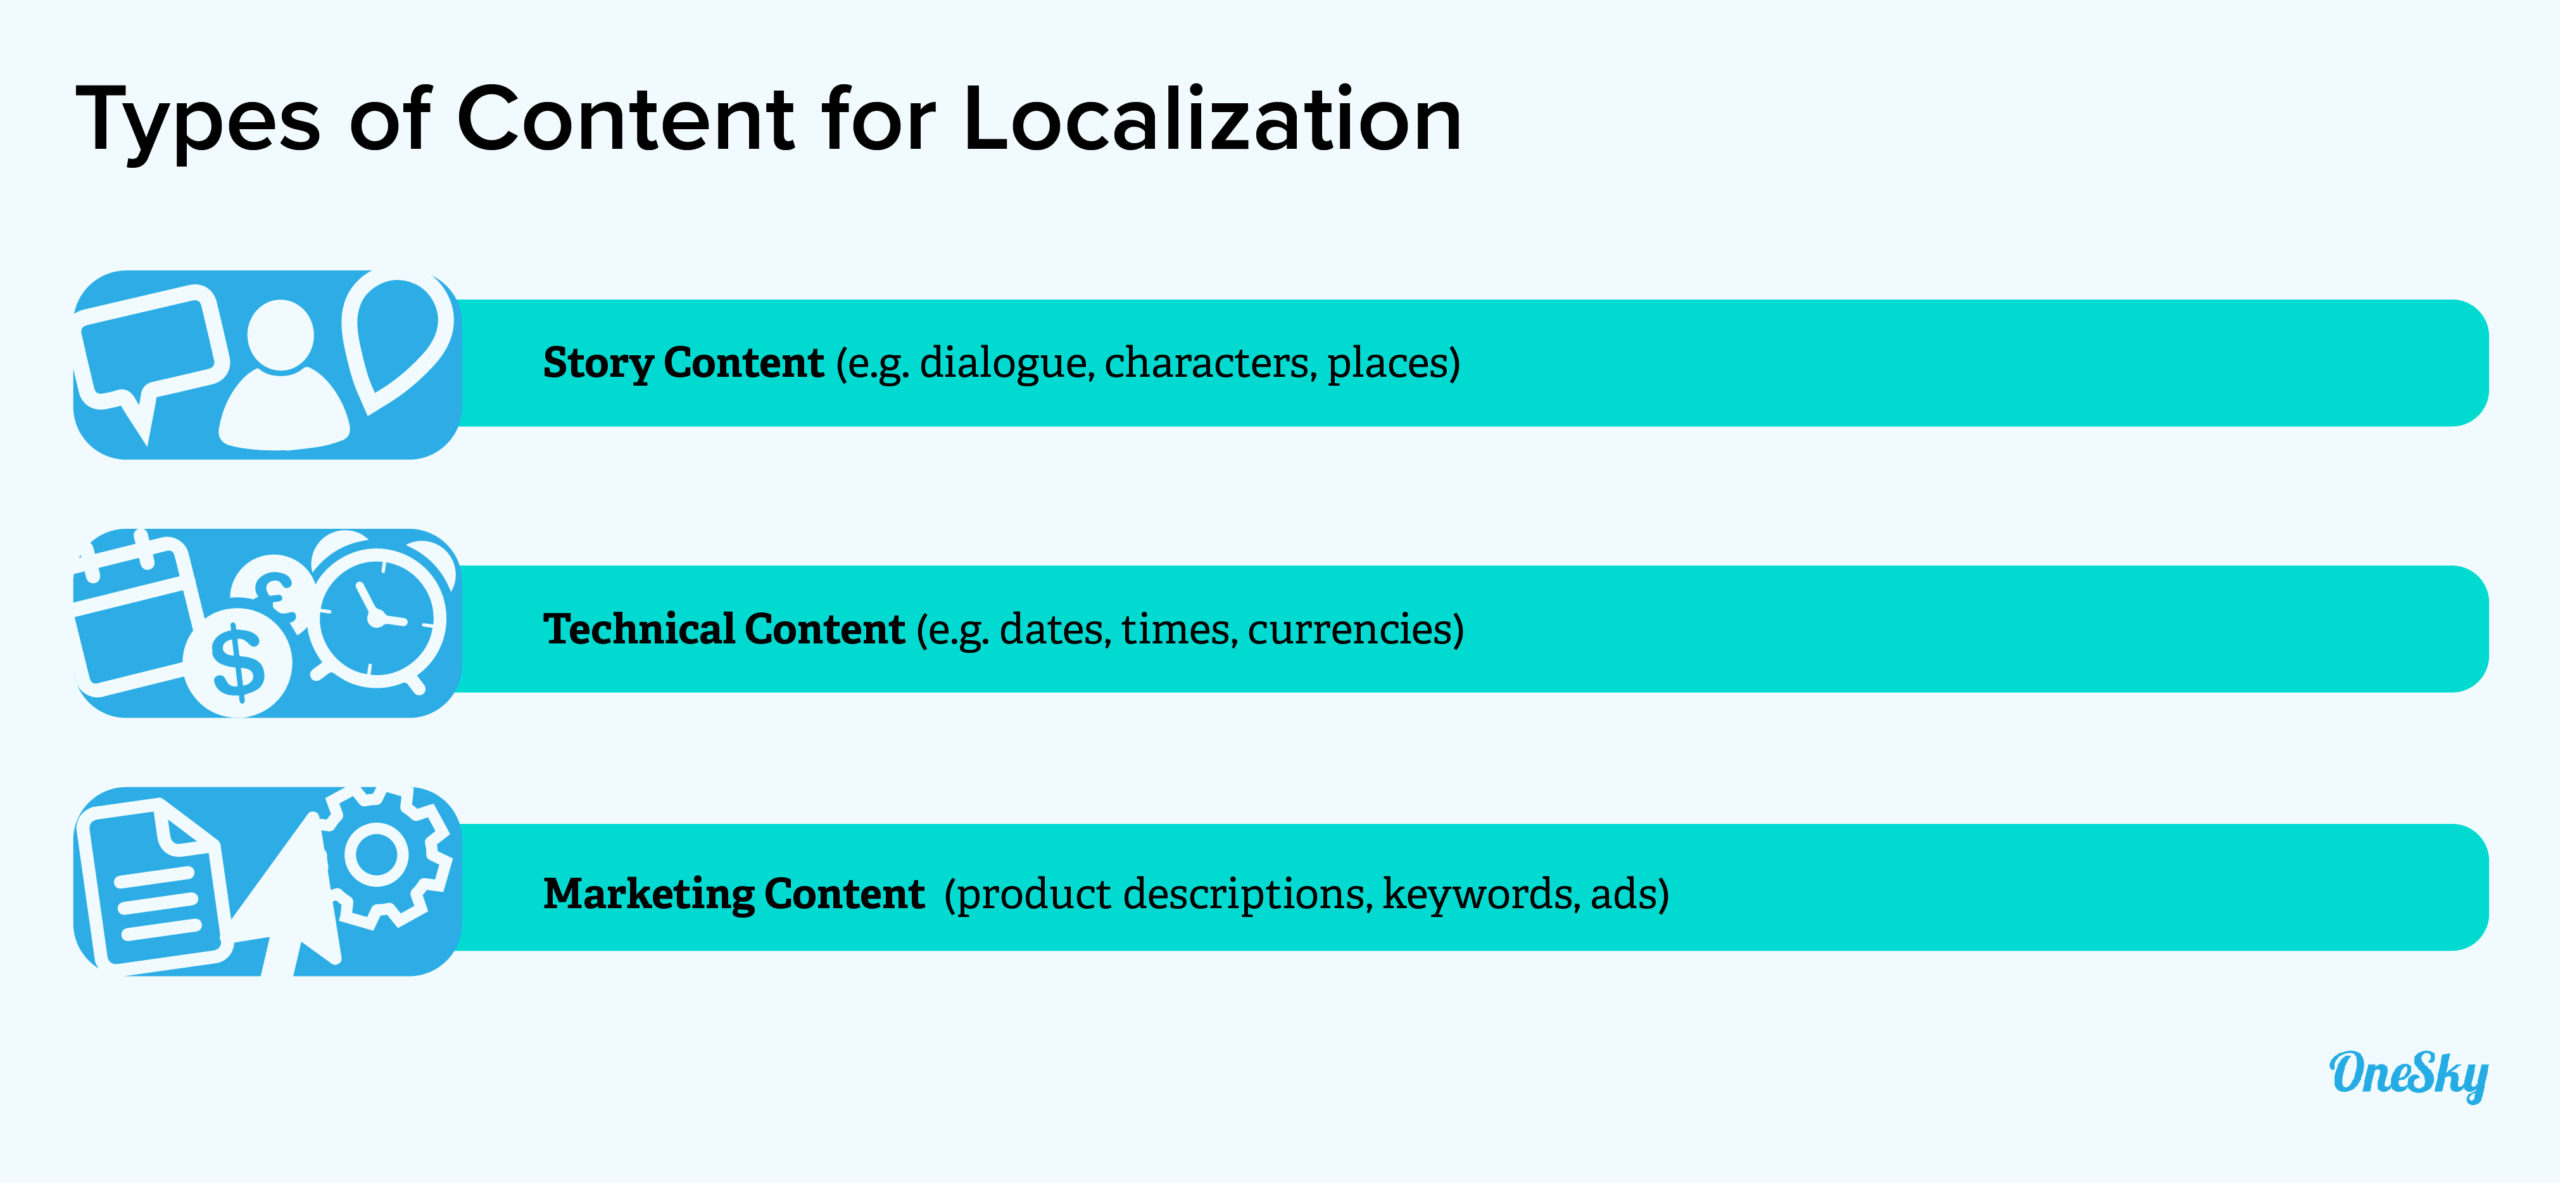
In terms of creating a wider localization plan, there are essentially three types of content to think about:
- Story Content– This includes all the dialogue, along with the names of characters, places, items, and other parts of the fictional world
- Technical Content– Other in-game elements that are not part of the story, such as dates, times, and measurements
- Marketing Content– All the content that promotes your game, such as product descriptions, keywords, ads, and posters
Remember that text is not the only content that may need to be localized. Everything from your video trailer to the clothing on your characters may need to be adapted for different regions.
Creating a comprehensive project plan at this early stage will make the subsequent steps run more smoothly.
2) Pick Your Localization Solution
If you get localization wrong, your game is likely to turn into a meme for all the wrong reasons. In other words, picking a good localization service is pretty important.
If possible, try to work with a company that specializes in game localization. They will be able to help you with the technical aspects, and provide translations that resonate with players.
In terms of the workflow side, you can either import translations manually through a basic TMS (translation management system), or save yourself some time by using an end-to-end solution, such as OneSky.
Translation is another key consideration. Some services focus on the most popular languages and locations, while others provide comprehensive coverage. Machine translation is great for testing, but you should probably invest in professional human translation for the release version of your game.
3) Create a Localization Kit
Before you start submitting content to your chosen service provider, it’s a good idea to build a localization kit, or “lockit.”
This is a set of documents and instructions that will guide the professional translators who are working on your game. Providing this additional context should ensure that your creative vision is delivered, even when a direct translation doesn’t quite work.
A good lockit should include comprehensive information about the story and characters in your game. You can also talk about specific scenes and explain the mood you’re aiming for — and remember that your translators need to know who is speaking to whom.
A good mental cue: imagine you were writing instructions for turning your game into a movie. Include screenshots and sketches if you need to.
Along with creative guidance, you should prepare a glossary and a style guide to assist your localization expert.
4) Extract Your Content
Assuming you are using a professional localization service, you will need to submit your content for translation. There are a few different ways to achieve this.
Most platforms ask to extract and upload all the text strings from your game. In some cases, you will have to do this by hand.
End-to-end platforms like OneSky can make the process easier by automatically recognizing each string and extracting the relevant text. These solutions usually support a variety of file types, such as XML, PHP, HTML, CSV, and TXT.
For an even smoother ride, you can use the OneSky API to extract strings directly from your game code.
Remember that not all the content that needs to be localized will be stored in strings.
Technical content, such as dates and times, will need to be submitted in a separate file. The same goes for marketing content, like product descriptions and keywords; and don’t forget all your cutscenes and character voices.
5) Translation Time
Once your content is in the hands of translators, be patient. Localization is a creative process that requires careful thought.
Along the way, you may also receive messages from your translation team asking for further clarifications. Being responsive to these requests will speed up the process and ensure you get the best possible result.
The actual time to completion will vary based on the service you use, the amount of content in your game, and the number of locales you are optimizing for.
6) Import Your Localized Content
Once all your content has been translated and optimized, you will need to import the translations into your game.
If you use a standalone translation service, you may need to use a separate TMS to insert the new content. In contrast, most end-to-end platforms allow you to download a localized version of your original strings file.
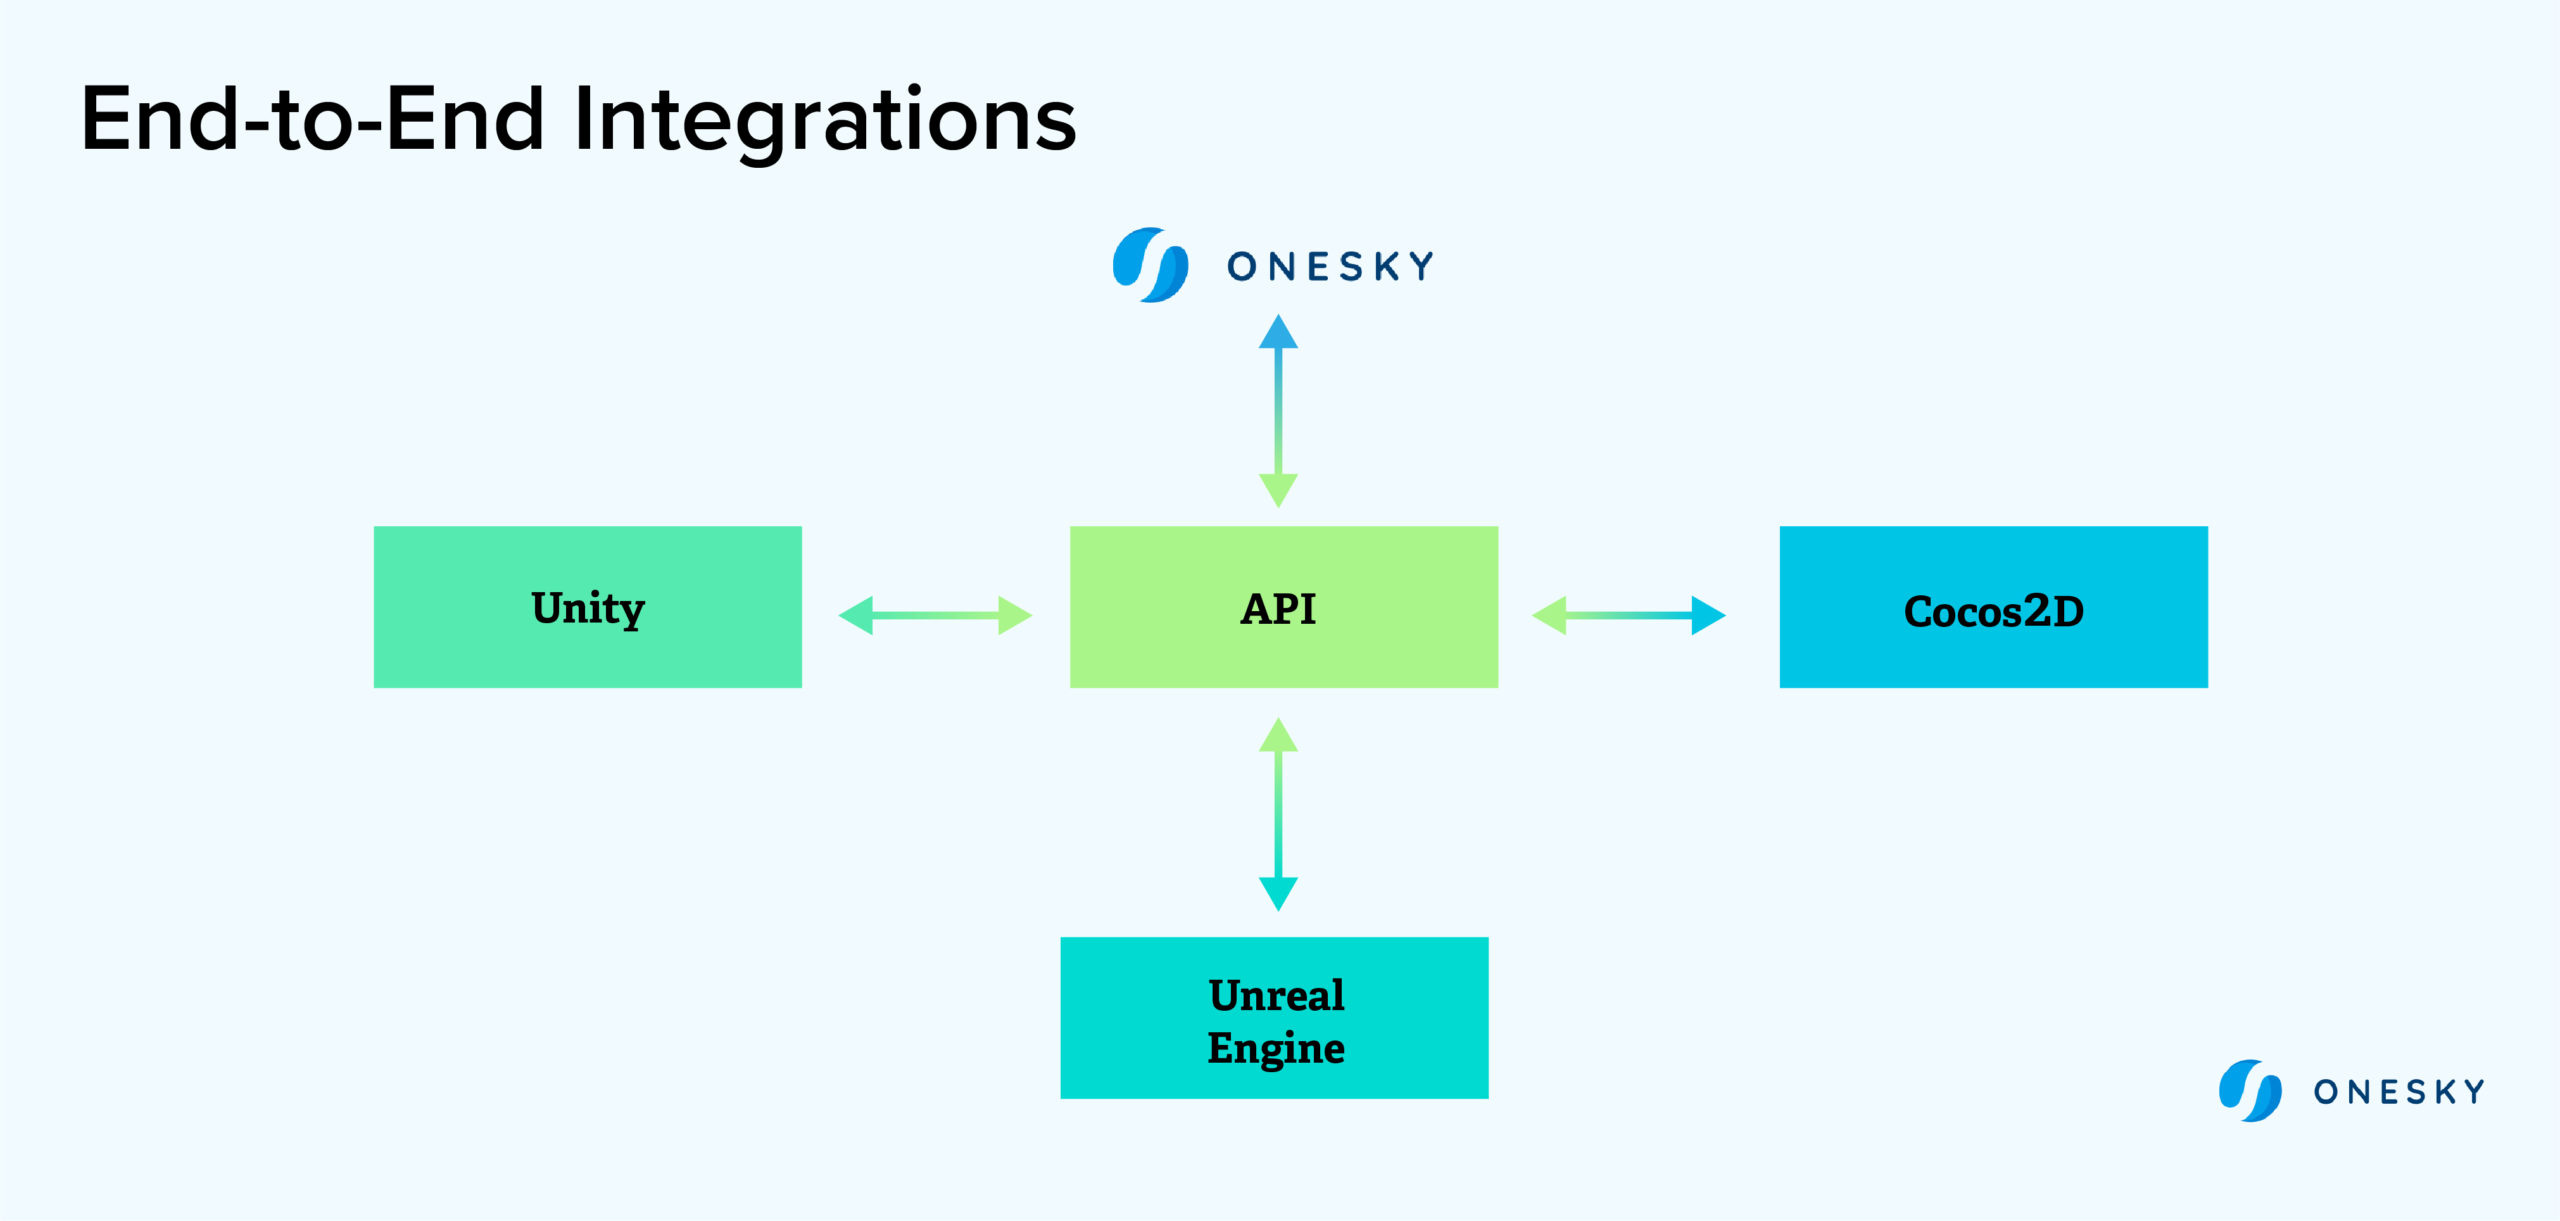
OneSky lets you choose between this option and importing content automatically through an API. This hands-free approach works with Unity, Unreal Engine, Cocos2D, and other popular frameworks.
7) Test, Test, Test
The final step in localizing your game is testing.
Known in the industry as “Localization QA”, this process needs to be thorough. Even the best professional translators can have an occasional slip-up, and inserting a different language into your UI may cause bugs.
Professional localization QA services provide a good starting point for your testing process. In general, on-device testing is preferable — this will ensure that any of those interface problems come to light. You could even ask some testers to play your game for a realistic player experience.
When you finally come to launch your newly localized game, keep an eye on the reviews in your new locale. If players spot mistakes, they are likely to mention them. They will appreciate quick corrections.
Best Practices for Game Localization
As we have seen, there are many different ways to implement game localization.
Different developers prefer different approaches, but there are some key principles to keep in mind, however you choose to localize your game.
Think About Localization From the Start
If you design and engineer your game with only one language in mind, localization at a later stage will be much harder.
When you build your next title, make sure you don’t hard-code any text into the source code. Instead, wrap it as strings.
On the design side, work on the basis that your interface may need to accommodate a different number of characters.
Do One Locale at a Time
In the rush for growth, some developers and studios make the mistake of trying to localize their game for multiple locales at the same time.
Unless you have EA money, it’s usually better to focus your resources on a single locale at any given time. This ensures you can give your full attention to the process.
Once you have perfected one locale, you can move on to the next.
Work Closely With Your Translators
We can’t stress this enough: work with your translators and localization experts.
While it might be tempting to send off your strings and forget about them, you will get a far better result if you engage.
In order to adapt your game to a different culture, translators need to have a deep understanding of what you want to achieve. In addition, they need some freedom to rearrange sentences and make other minor changes.
Create a Workflow for Updates
Although most of your in-game content probably won’t change that often, it’s a smart move to set up a workflow for localization updates.
Such a system should be able to track changes and flag up duplication, which will save you some headaches at a later date.
Developers of mobile games, in particular, should take heed of this advice. Any time you want to push out in-app purchases or new maps, you’re going to need some localization!
End-to-End Game Localization
From translation through to testing, OneSky provides a seamless localization service for game developers, as used by Tencent, BANDAI NAMCO, and Epic Games.
Sign up free today to start optimizing your game for a worldwide audience!

 Written by -


 Written by
