A Simplified Guide to Angular Localization
What is Localization?
Localization is the process of optimizing and tailoring your user experience to the needs and expectations of a regional population. Understanding where localization fits into the overall process of globalization and “boots on the ground” development can help you to create more efficient and personalized source codes and frameworks, which is the template for keeping your organization poised for sustainable and successful growth.
An example of localization would be after initial internationalization steps, filling in placeholders left behind during the process with translation files and code that is specific to that region and dialect. It can also include user experience updates that may be applicable to specific regions, spearheaded by regional native teams who have a firm understanding of what is expected and needed for optimal functionality.
Below, we’re exploring what Angular localization is, and how you can localize using Google’s Angular application (and related concepts) for your own business venture.
A Brief Background of Google’s Angular
Google developed Google Angular with the goal of building user interfaces (UIs) in mind. Essentially, it’s an app that builds apps—relying on the platform’s extensive list of best practices and preferences. Google Angular has several components (such as material design elements) that can enhance your end products and that can run on a command-line tool, allowing you to develop and maintain your app easily. It can be used for both angular internationalization (I18n) and localization tasks.
Those familiar with JavaScript and HTML may find Angular easy to adapt for a range of business development needs, such as creating e-commerce storefronts, app development, and interactive form creation.
How to Localize Using the Angular App
The Google Angular use cases help you to not only localize using Google Angular, but also move effectively through other phases of your globalization experience. They are generally created with CSS-oriented language and layout, making them one of the most accessible methods of localization-friendly app development.
Here are a few critical steps and a brief tutorial to take to get you and your app off to the races.
1. Create an Angular 7 app.
Before you can begin using the Google Angular tool to facilitate localization across different languages to different locales, we have to first create an Angular 7 app. It’s the latest version of Angular at the time of this publication, and it can be personalized with a range of features from the tool’s library.
To complete this initial task, you’ll want to prompt the app’s creation using the command: ng new i18nDemo.
You can then successfully open the app.
2. Set up the app component.
The next step is to set up and optimize the app component. You can replace any content located in your app.component.HTML file with your localization-based content, which is designated as <h1 i18n> or related syntax. The demarcations in the symbol brackets serve as identifiers indicating the attribute of internationalization, which allows for those specific strings to be swapped for different elements and variables related to your localization processes. It is an alternative to “hard coding,” which could result in optimization delays later.
3. Create a translation source file.
After this, you’ll want to create any relevant translation source file content you’ll need for your current area of focus. Housing these as separate, reachable files allows for simple migration during your finalization process and is a more sustainable approach that can reduce the risk of human error.
You can do this by running the following in your command-line interface (CLI): ng xi18n — output-path translate or <;p>
You’ll then be able to identify translation attribution IDs housed in a messages.xlf folder, under your XML code header.
We do want to note that the <;p> tag in this context is not generally “marked” for translations via Google Angular. Any changes that you make in the original HTML file will need to be redesignated and rebuilt in your translation file of choice. After this step, you’ll be able to move into content translation on a more automated and efficient basis.
4. Translate the content.
Translation can be done in any language or dialect you have information for. All you’ll need to do from here is to make the proper number of copies of your messages.xlf folder and rename them accordingly, designating your language of choice.
You can then open the folder and add a target tag that relates to each <source> tag. The translated content is designated by these target tags and will reflect any content inside <source> areas.
Your language pro can use this as a reference as they move through translation steps. You can then save the content in an .xlf format.
5. Configure the app into multiple languages.
After you create your translation files, you can import and configure your app interface to show the multilingual capability beyond the file source language. To build configurations, open the angular.json file and add in your prompt, which will look like “build”: {…”configurations”: {…”es”: { “aot”
This string commands the app to pull content from the i18n file path successfully, designating your locale as “es.” This form of configuration can apply to any other translation you do.
6. Execution demo.
Demos are among the most important steps of any app launch. You’ll want to make sure that there are no compilation or syntax errors that could undermine your Angular localization efforts.
We do want to note that app functionality can only be configured for the local machine. Routing or reverting to the original won’t be possible once the app has been fully deployed.
7. Modify the app component for production.
As you prepare for production, we recommend pre-pulling a full list of any languages and their subsequent locale codes. They’re standard across the industry. You’ll use these to complete your HTML file and continue on your next pre-launch steps.
To add the app component to your base code, open the app.component.ts file. You can then enter the following string: import {Component, LOCALE_ID, Inject} from @angular/core’ ;
You can then define a “button” or designation by language that will apply to your URL. To do this, add the codes in your app.component.HTML file and add: <ng-container *ngFor= “let language of languageList” > and then your variable(s).

8. Script to compile the app for production.
Now, it’s time to prepare your compilation script. You’ll need to have a serving location per location. You can do this using the command: ng build –prod — i18n-locale es –i18n-format xlf.
We do want to note that the designator “es” can be any designation for your language of choice, and may vary. You will also need to implement any format or Angular i18n file paths you’ve used in previous steps. That way, your code indicates an end location for your application container or “package.”
The command will need to be executed per language with the applicable i18n file and any attribute values. If you have many languages, however, you might consider writing a script to compile these for you and half your time spent otherwise.
The command to do this would be “build-locale:en”: “ng build –prod –i18n-locale en, using designator “en” as any language designator you’ve pre-set.
9. Deploy the app.
It’s time to finally deploy your Angular localization app. You may choose to use a tool such as Firebase to catch the real-time swap, but it’s not a necessity. However, this can save you time on further refinement and optimization tasks in case of failure.
A few things to keep in mind if you use Firebase:
- You’ll likely get a hosting URL. You can use this and update your baseHref attributes found in your base codes accordingly, attributing that specific site URL by language. This helps you to show your output.
- You don’t need Firebase specifically. Additional options can include sides such as Deployd, Pubnub, and Kuzzle.
If you see any errors or don’t see the correct attribute, it may be a case of misattribution. Simply review the steps and determine the error.
Team Up with OneSky for Simplified Localization
Localization can be difficult. However, using a tool such as Google’s Angular can help you to streamline your process. OneSky offers premiere translation management system (TMS) tools to help you to get the most correct content, every time—giving your users cutting-edge accuracy, faster delivery and a better overall experience. The best part? You’ll likely walk away with some unbeatable cost-savings as a result.
Connect with us today or sign up for free, and learn how OneSky can redefine success for your localization and translation needs.


 Written by -
 Written by
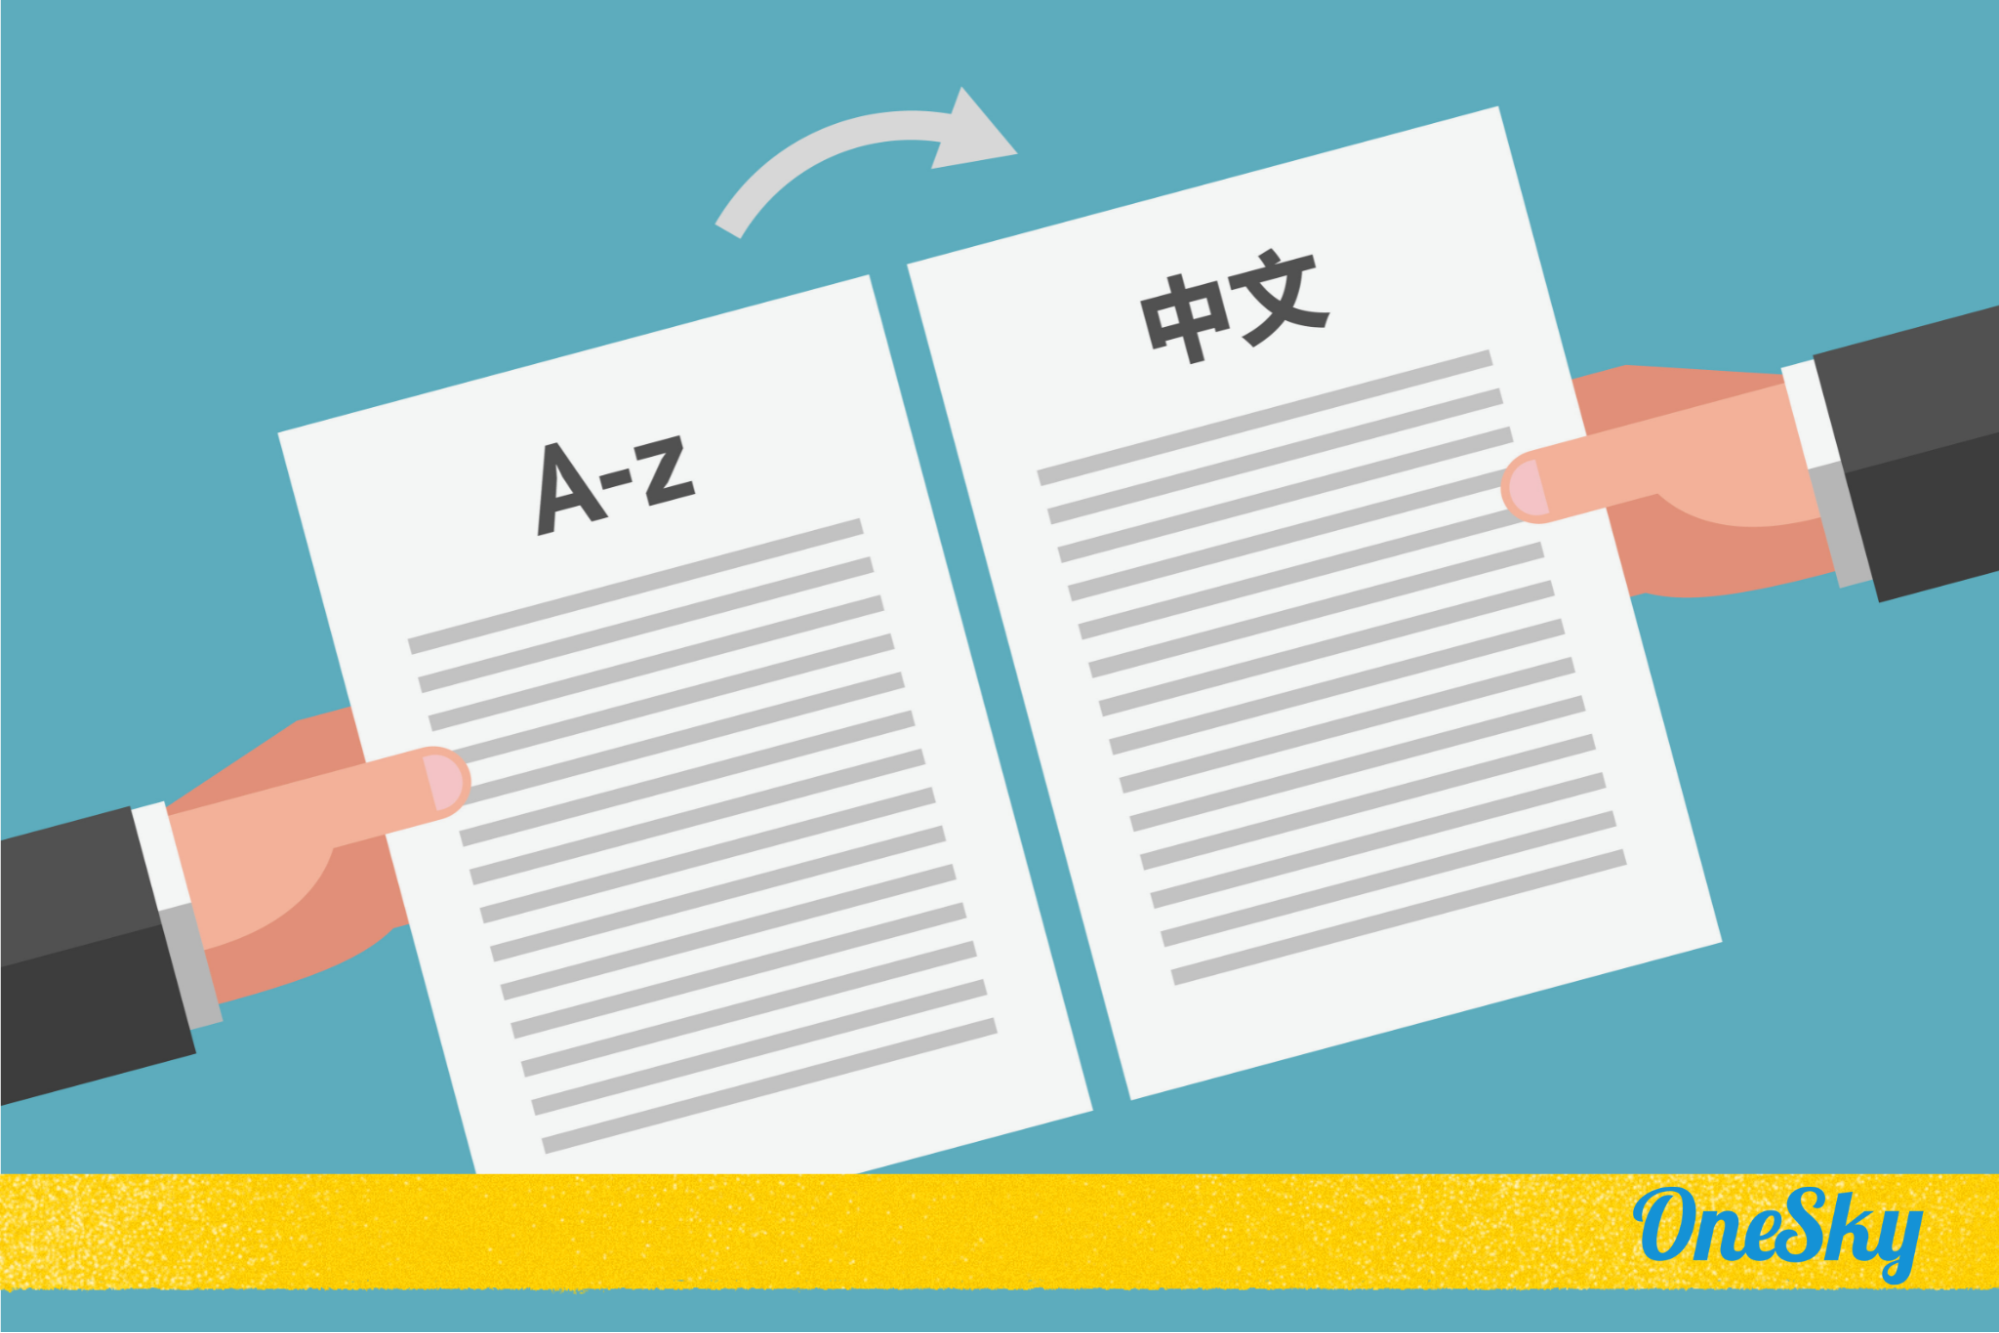


 Written by