JavaScript Localization: Your How-to Guide
What is localization?
Localization is the optimization of your product, app, or service for a specific region or market. It is an essential component of globalization, made possible by the firm framework presented by internationalization. This cinches the potential for you to double your returns and build your pool of brand advocates.
Essentially, with localization, you’re making your brand experience native to the user—over-delivering on expectations and launching with regional preferences in mind.
In this article, we’re exploring how you can localize your web pages using JavaScript, and showcasing how OneSky can streamline your ongoing localization efforts.
How to Localize a Web Page with JavaScript
JavaScript offers flexible web page localization through its JavaScript localize process steps, offering both fileless and file-oriented approaches. This makes it one of the top tools of choice for developers and tech teams, as you have the benefit of versatility coupled with the ease that a familiar style can bring.
While JavaScript works similarly to CSS, CSS is generally relegated to visible elements on-site and has less back-end functionality than JavaScript can (in most cases). Understanding this complimentary partnership (and relevant plugin opportunities) allows you to reach a higher level of success with your current tech toolkit.
You can use CSS to create more user-friendly layouts for your site’s functionality, courtesy of this handy open-source tool. JavaScript, conversely, offers more benefits server-side.
Here’s a quick tutorial to help you properly localize a webpage with JavaScript, and relevant JavaScript localize steps using i18next.

1. Install the i18next and framework package.
The first step to JavaScript localize your web page is to download i18next and any relevant framework packages. Many developers choose this tool as it offers additional features such as formatting optimization and interpolation. You can use it to JavaScript localize across desktop, web, and mobile environments.
As you download your packages (using the text-command string below), you will also need to download relevant dependencies via any available content delivery network (CDN). Commonly referenced options include tag loads ESM or UMD, which can be accessed via the UNPKG CDN.
Before we get too far into this, we do want to note that OneSky can only support JavaScript files in the RequireJS i18n file format. Additionally, you can use OneSky with JSON file formats.
2. Install browser language detector.
At this point, you’ll need to download a compact language detector (CLD) to help i18next properly detect language in your native source code. The command given by this critical step is detectLanguage(), which is considered to be asynchronous.
detectLanguage() has been shown to be fairly compatible across browsers, only showing reported problems on Safari or Safari/iOS systems, respectively.
As a result, you can expect to see a Promise object returned, showing the success or failure of your execution.
3. Prepare the i18next configuration.
You’ll then be able to prepare the i18n.js file for further configuration. After the initial import steps and the use of the language detector, you can follow the compilation prompts to each string of your file, which can be found in the official i18next documentation files.
You can use the config options to address different portions of i18next.init (i.e. init() or createInstance() effectively across areas like logging options, languages, resources and missing keys.
As you configure and move on to the next steps in this step-by-step tutorial, don’t forget to pay attention to your href tags. These critical tags assign the site page URL and note the separation of docs.
4. Translate the content.
At this point, we can begin to translate the content. We’ll first want to create a system that allows users to accept keys and return the function to your lang library in a single, sleek language file process.
As you build your translations file(s), you’ll want to focus on assembling a replicable structure for a smoother workflow (and likely a more accurate user interface) later on. This, while convenient, also aligns with best practices to minimize your risk for error and maximize your front-end experience.
The excerpted code we can reference for this includes: /src/services/i18n/lang.js, which will allow you to assign your key of choice to i18next.t() functionality.
I18next can then do the heavy lifting for you, outputting your translation into your view (or /src/app.js, respectively).
This can allow for simple translation swaps (such as EN-US to EN-GB, and can provide support for similar strings such as current locale edits, datetime functionality, and others).
If you notice problems in your language code compilation, you might consider referencing GitHub.com or jQuery as a fallback plan, keeping your front-end experience relevant. You’ll also find helpful step-by-step guides that can help you to enhance both your development and customer experience.
5. Create a language switcher.
Creating functionality for a “language switcher” in i18next is relatively simple. The functionality string is: i18next.changeLanguage, which can then prompt you to oscillate between languages. The prompt would generally look like:
const languageNames = useMemo (() => {
return new Intl.DisplayNames ([currentLanguage], {
type: ‘language’,
}];
}, [currentLanguage]);
After this point, you should be able to render using a selector element. There are multiple ways to do this, one of the most popular being the select function via the native HTML kit. You can also opt for a third-party tool (such as Makerkit’s ListBox function).
GitHub can be a helpful resource for any questions or errors you may encounter during this step in the process. You might also choose to reference NPM for additional support in downloading library scripts, which can be leveraged in your runtime environment node.js.
6. Add translations for other languages.
You can replicate the step above as often as needed to add different translations across the range of languages you need. You’ll want to consider any additional functionality that you may need (such as right-to-left and left-to-right language identification and readability for specific languages, such as Japanese, Arabic or English).
While this does require additional steps and parameters, it can be a worthwhile investment. This critical task opens doors for you to boost your conversions and web traffic simply due to the fact that users feel comfortable navigating and accessing your website. It can also have positive impacts on your site’s SEO ranking and score through Google’s algorithm.
7. Use pluralization and interpolation.
Identifying your constant parameters is a helpful step for further pluralization and interpolation efforts. Knowing these and how to best leverage them can help to result in a more efficient and accurate translation experience. It can also result in less risk of compilation or runtime errors.
A few notes regarding pluralization:
- You can translate with it. The syntax required to do this requires a separation line, such as coffee: ‘coffee | coffees’,
- You have to use proper syntax. The string to use as you add in pluralization and parameters is: <p> {{ $tc(‘item’, 1)}} </p>ˆ—we do want to note that the term ‘item’ and 1 can be replaced with the noun or object of choice, and its numerical ranking.
On using interpolation:
- Keys are key. (Literally!) Interpolation is most commonly done through use of keys to easily swap out variables from your commands and given parameters. This is often seen with the use of the “key” designator. (I.e., “key”: “I like {{food.name}}”
- You have to know the language. Anything that is between the textured parentheses (i.e., {}) is considered a key and is therefore a variable attribute of your code.
Simplify JavaScript Localization with OneSky
JavaScript localization steps can be complicated. OneSky is the industry’s choice for cutting-edge translation management system (TMS) that is built to help at every stage of your business. Designed with user experience (UX) in mind, our tool allows teams to work collaboratively and efficiently to address localization and translation needs at every stage of your SaaS deployment.
For more information and to get started today, please visit our website. You can also sign up for free and experience the difference that OneSky can bring to your latest project or development.

 Written by -
  Written by
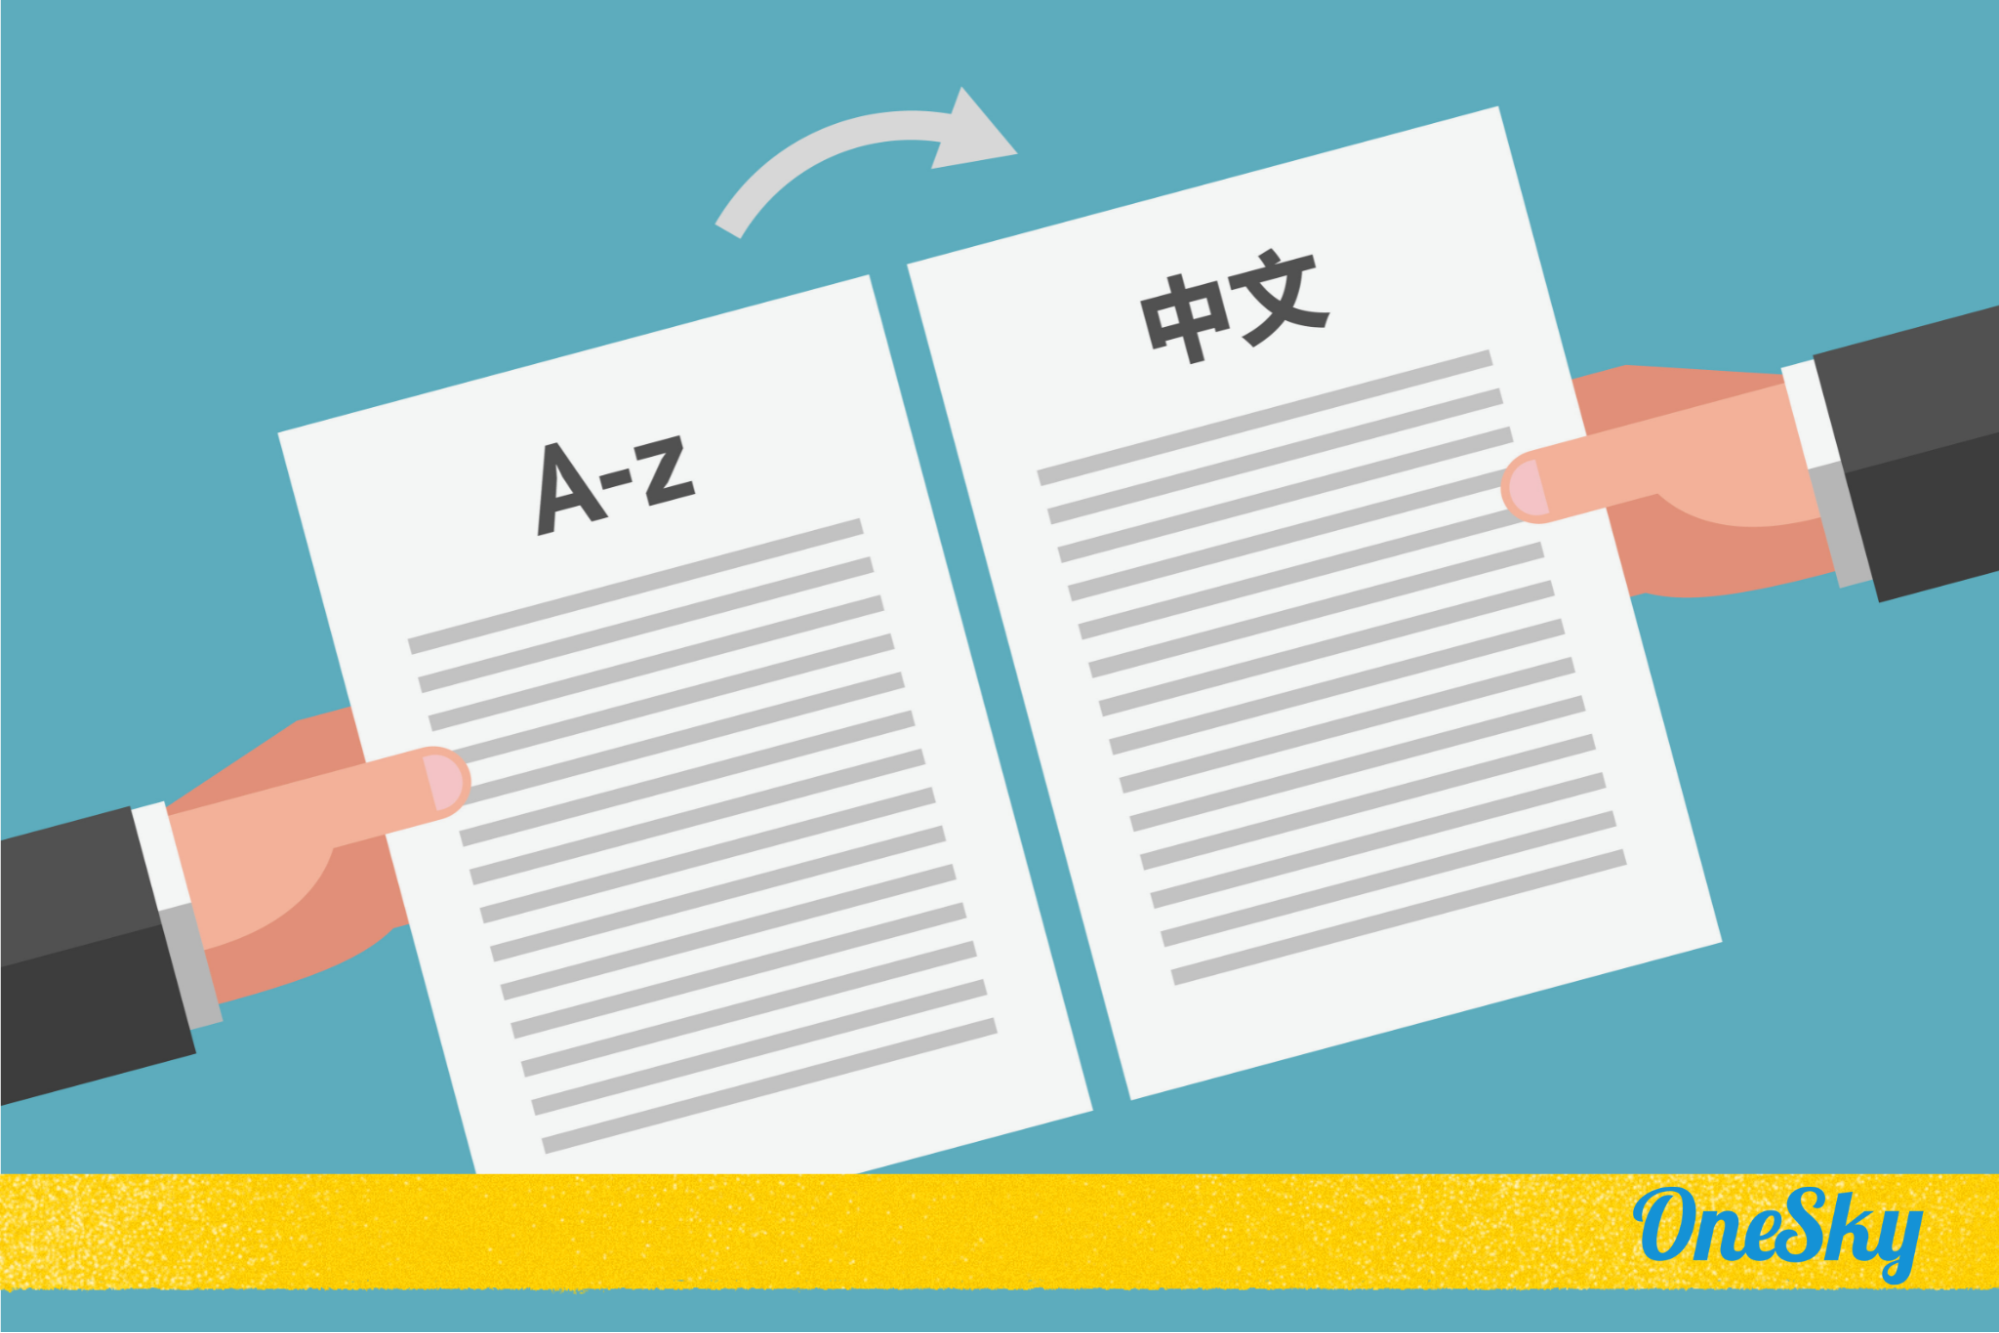

 Written by