One of the great advantages of developing an app for iOS is that you gain access to millions of users in 175 countries around the world. This can open the door to explosive growth — but only if you give everyone a good user experience. This is where iOS localization becomes really important.
Adapting your app for different languages and cultures is one of the best ways to increase downloads and in-app purchases. In this step-by-step tutorial, we’re going to walk you through the process — from the planning stage through to launching the new version.
The Ultimate Guide to iOS Localization
In iOS development, localization (l10n) is the process of adapting your app for a specific language and location. This pairing is known as a locale.
Translation of in-app content is a key component of localization. However, there are many other parts to consider.
A complete iOS localization project is likely to include:
- Translating content (text, images, audio, video)
- Optimizing content for a different culture
- Optimizing the UI for a different language or script
- Translating and optimizing App Store descriptions
- Creating new App Store screenshots
- Adding local App Store keywords
Of course, some of these tasks have a technical aspect. In particular, content needs to be extracted for translation and the new version integrated back into the app.
To make this happen, you may need to make some adjustments to your app in order to accommodate different languages. This is called internationalization (i18n), and it’s an essential starting point for your localization efforts.
iOS Localization: Step by Step
Now we have had a good look at the big picture, it’s time to start digging into the details.
The exact process of iOS localization may vary a little according to the specific tools you use, but the key steps remain essentially the same.
Step 0: Internationalization
We will look more closely at internationalization in another post, but it’s worth mentioning the basics here.
In order to prepare your app for localization, you will need to make both your user interface and code ready to accept different languages. You can even prepare your app for non-unicode standards.

User Interface Internationalization
Xcode has a feature called Base Internationalization, which extracts text from .xib and .storyboard files and places it into .strings files, ready for translation.
This feature also rearranges your project folders. The original .storyboard and .xib files are placed in the Base.lproj folder; individual strings are then extracted and stored in separate folders for each locale. For example, you will find a folder named en.lproj for English.
Recent stable versions of Xcode have this feature turned on by default; you can check by selecting your project and clicking on the Info tab.
In Xcode 13, you can navigate to Build Settings to see a few different options, regardless of which application language you’re using.
Xcode should create a .strings file for every .xib resource, although you can create files manually if you prefer.
You should add any other resources to be translated into the Base.lproj folder of your app directory, and ensure that Auto Layout is turned on — this will allow your interface to adapt to languages that use a different number of characters.
Apple’s guide in this area points out some other advantages:
“Use Auto Layout to lay out your views relative to each other without fixed origins, widths, and heights, so that views reposition and resize appropriately when the language or locale changes. Auto Layout makes it possible to have one set of .storyboard and .xib files for all languages.”
Code Internationalization
Along with all the content from your interface, there might be some text that is hard coded in your .m and . swift files. This still needs to be wrapped in strings for translation.
To do this in Xcode 12 and before, you can use the following macros to separate the text from your code:
NSLocalizedString(key, comment)
NSLocalizedStringFromTable(key, tbl, comment)
NSLocalizedStringFromTableInBundle(key, tbl, bundle, comment)
NSLocalizedStringWithDefaultValue(key, tbl, bundle, val, comment)
In Xcode 13, simply wrap every line of text with String(localized:””). As you do so, leave some comments that describe each string. This will help your translator later in the process.
To store these strings, you need to create a new Localizable.strings file in the Base.lproj folder. This new file needs to be populated with key-value pairs.
A key is a unique identifier within your code for a specific element. At runtime, the key is replaced by an assigned value. For example:
“join_button” = “Sign up now”;
Here, join_button is the key, and “Sign up now” is the value.
When you create a .strings file for every locale, you can reference the same key and simply change the value for different languages.
Step 1: Preparing Your Files
With the groundwork in place, the next step is to start the localization process.
First, we need to add a new string file for every language that we will be localizing for. In the Project Navigator, select your project and under the Localization section, hit the little + icon. You can select your desired languages from the drop-down menu.
When you make a choice, the Choose files and reference language… dialog will make an appearance. In this box, you can pick the files you want Xcode to reference, such as Main.storyboard and Localizable.strings.
When you click Finish, Xcode will place new .strings files in a dedicated folder for your chosen locale.

Step 2: Localization Time!
Now that all of your string elements are saved and formatted, it’s time to start translating from one language to another.
Effective localization starts with a good strategy, shaped by research. Which markets show the most potential for growth? The answer should help you work out which locales to prioritize. You can read more about the strategic side in our in-depth mobile app localization guide.
While it’s technically possible to translate content yourself, using a professional translation service is likely to deliver better results. Some services are general purpose, while others (such as OneSky) specialize in app localization.
If you choose a specialist service provider, you should be able to upload your .strings files directly. However, you can reduce the number of uploads required by navigating to Editor > Export for Localization… within Xcode. This feature lets you export all your strings in a single XLIFF file for each language.
To make the process even smoother, OneSky also offers an API. This can extract strings from your code automatically, and replace them with your translations.
Translation Management Systems
OneSky is a powerful example of a TMS, or translation management system.
These tools allow you to manage the entire localization process through a user-friendly interface, whether you are handling it yourself or importing professional translations. It is like WordPress for translations.
The advantages of using a TMS become clear when you need to update your app. Instead of restarting localization from scratch, you can simply pick out the strings that need to be changed.
OneSky adds other useful features, such as machine translation (good for placeholding) and on-device testing.
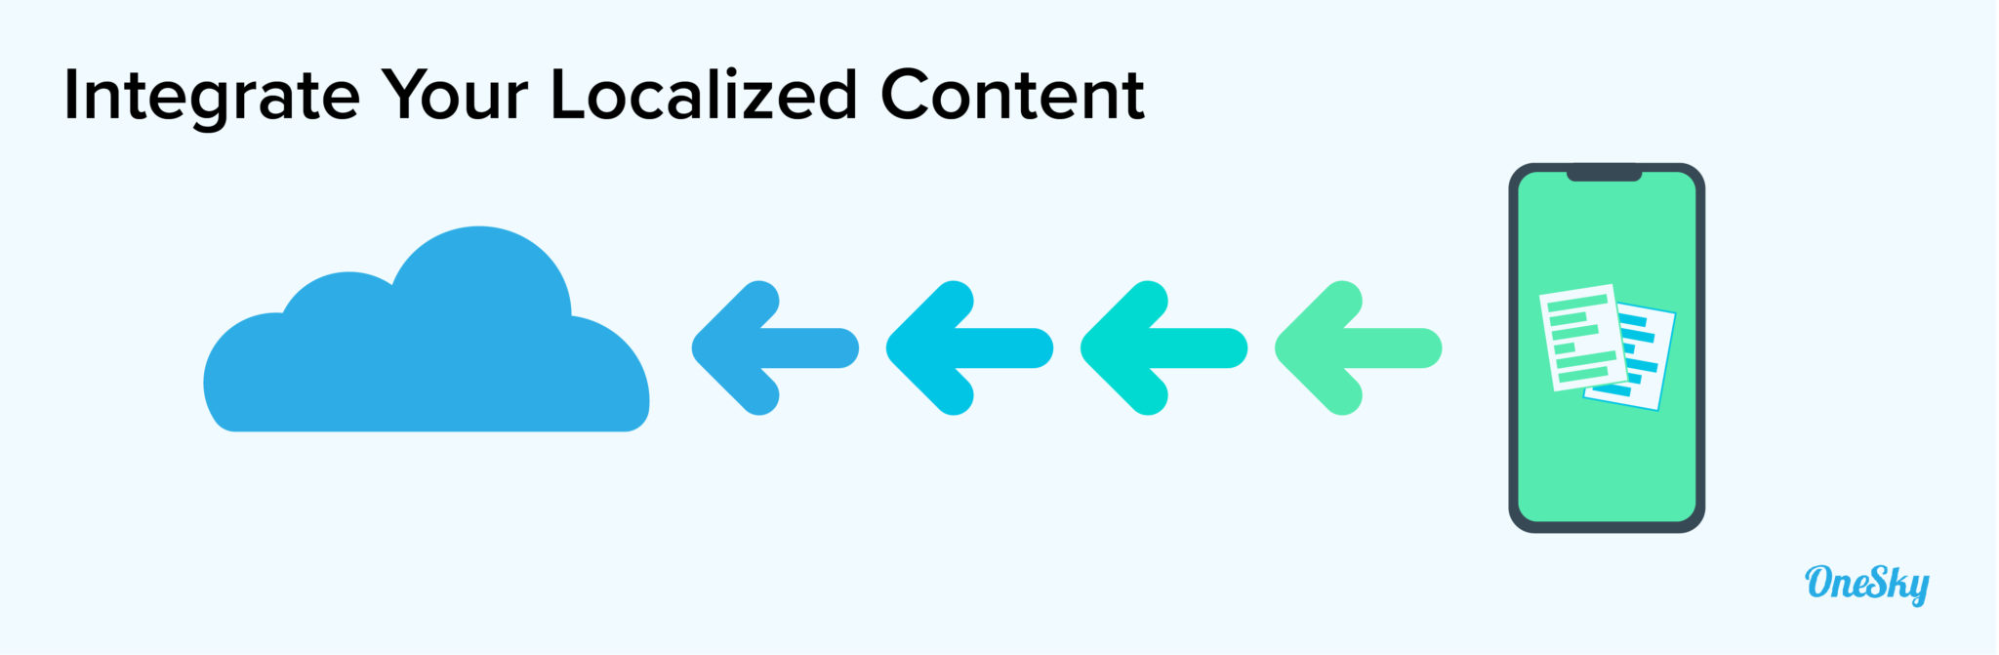
Step 3: Integrate Your Localized Files
Once the translation process is complete, you will need to integrate the translated text back into your app.
If you use a specialized service or solution, you should be able to download your translations in the same format they were uploaded in. They will come back with the language or locale code in the file name, such as fr.xliff.
Alternatively, you can use the OneSky API to generate and download translations.
To import these files via Xcode, navigate to Editor > Import Localizations…, make your choices in the file inspector dialog, and hit Import to complete the process. Xcode will detect the new changes automatically.
iOS Localization Best Practices
Thanks to Xcode, the workflow for iOS localization is relatively straightforward — particularly if you combine the IDE with an end-to-end localization solution.
That said, there are a few challenges to think about and some good practices that are worth following. Here are some of the most important points:
⭐ Don’t Take Shortcuts
In comparison with many languages, English grammar is quite flexible. By simply swapping the subject and object in a sentence, we can completely invert the meaning — “You helped John” and “John helped you” being just one example.
If you try to translate these phrases word-for-word into French or German, they will make no sense. For this reason, you may need to create more than one version of each string and write instructions about which variant should be used.
⭐ Don’t Skip the Comments
While it might seem like a chore to add comments for every string, it will save you a lot of time in the longer run.
Try to include key information, such as whether you’re using a word as an adjective or a verb. You should also include the technical context, such as where the string will appear and a description of its function. You can even instruct your translator to ignore specific strings, if you want.

⭐ Utilize the Language Features in iOS
Numbers, plurals, dates, and currencies can pose a challenge in localization. To assist developers, Apple has included specific tools in iOS to tackle this thorny issue.
For instance, localized plurals are stored in a separate .stringsdict file. The NSLocalizedString then finds plurals in the base language, and replaces them with the correct localized equivalent. Similarly, figures are handled by the NSNumberFormatter class.
There’s rarely a need for custom logic with this platform.
⭐ Remember Sound and Vision
Localization is not just about adapting text — the goal is to make your whole app feel native in every locale. As such, you may need to translate audio, video, and graphics within your app.
To handle media files, first add a duplicate to the folder for each locale, and then submit the content to your translation specialist. Once localization is complete, you can replace the duplicate with your localized version.
⭐ Test Everything
As you may have gathered by now, localization is a complex process. Every localized string needs to be perfectly wrapped, and every language has unique attributes.
To avoid leaving embarrassing holes in your localizations, it is vital to test. Pseudo-localization is a good way to spot the flaws.
Available in Xcode, this tool replaces all of the localizable elements within the interface. The text is still readable in your default language, but it is made up of different characters, such as letters with accents. This helps you pick out any elements that have been missed out of localization.
Double-length pseudo-localization increases the number of characters in each localizable element. This tests the ability of the interface to handle sentences of a different length.
Xcode also allows you to simulate using your app from any location, which can sometimes highlight flaws in internationalization and localization.
To access this option, select your active scheme from the toolbar and click Edit Scheme… in the drop-down menu. Then, navigate to Run > Options > Application Language in the dialog box, and select the language you want to debug.
You can read more about this process within Apple’s documentation.
⭐ Optimize Your App Store Listing
When you localize your app for new languages, you have the opportunity to reach a brand new group of users. However, they won’t know that your app is optimized for them unless you update your App Store listing.
Professional translation is a must here. Your listing is your storefront, so mistakes can seriously harm your brand. Remember to translate your app name, update your screenshots to include localized text, and add keywords that will resonate with your new audience.
Making Localization Easier
With support for more than 50 languages, OneSky can help you localize your iOS app in one seamless workflow.
Our platform also gives you direct access to over 1,000 professional translators, with integrated quality assurance.
Sign up free today to give it a try!